
Installation & Support
mRCH Monitor — 24V
Install the SmartTrash® mRCH Compactor Monitor on 24VDC control panels. Includes haul sensor steps where supplied. Complete the worksheet before leaving the site.
What you are installing
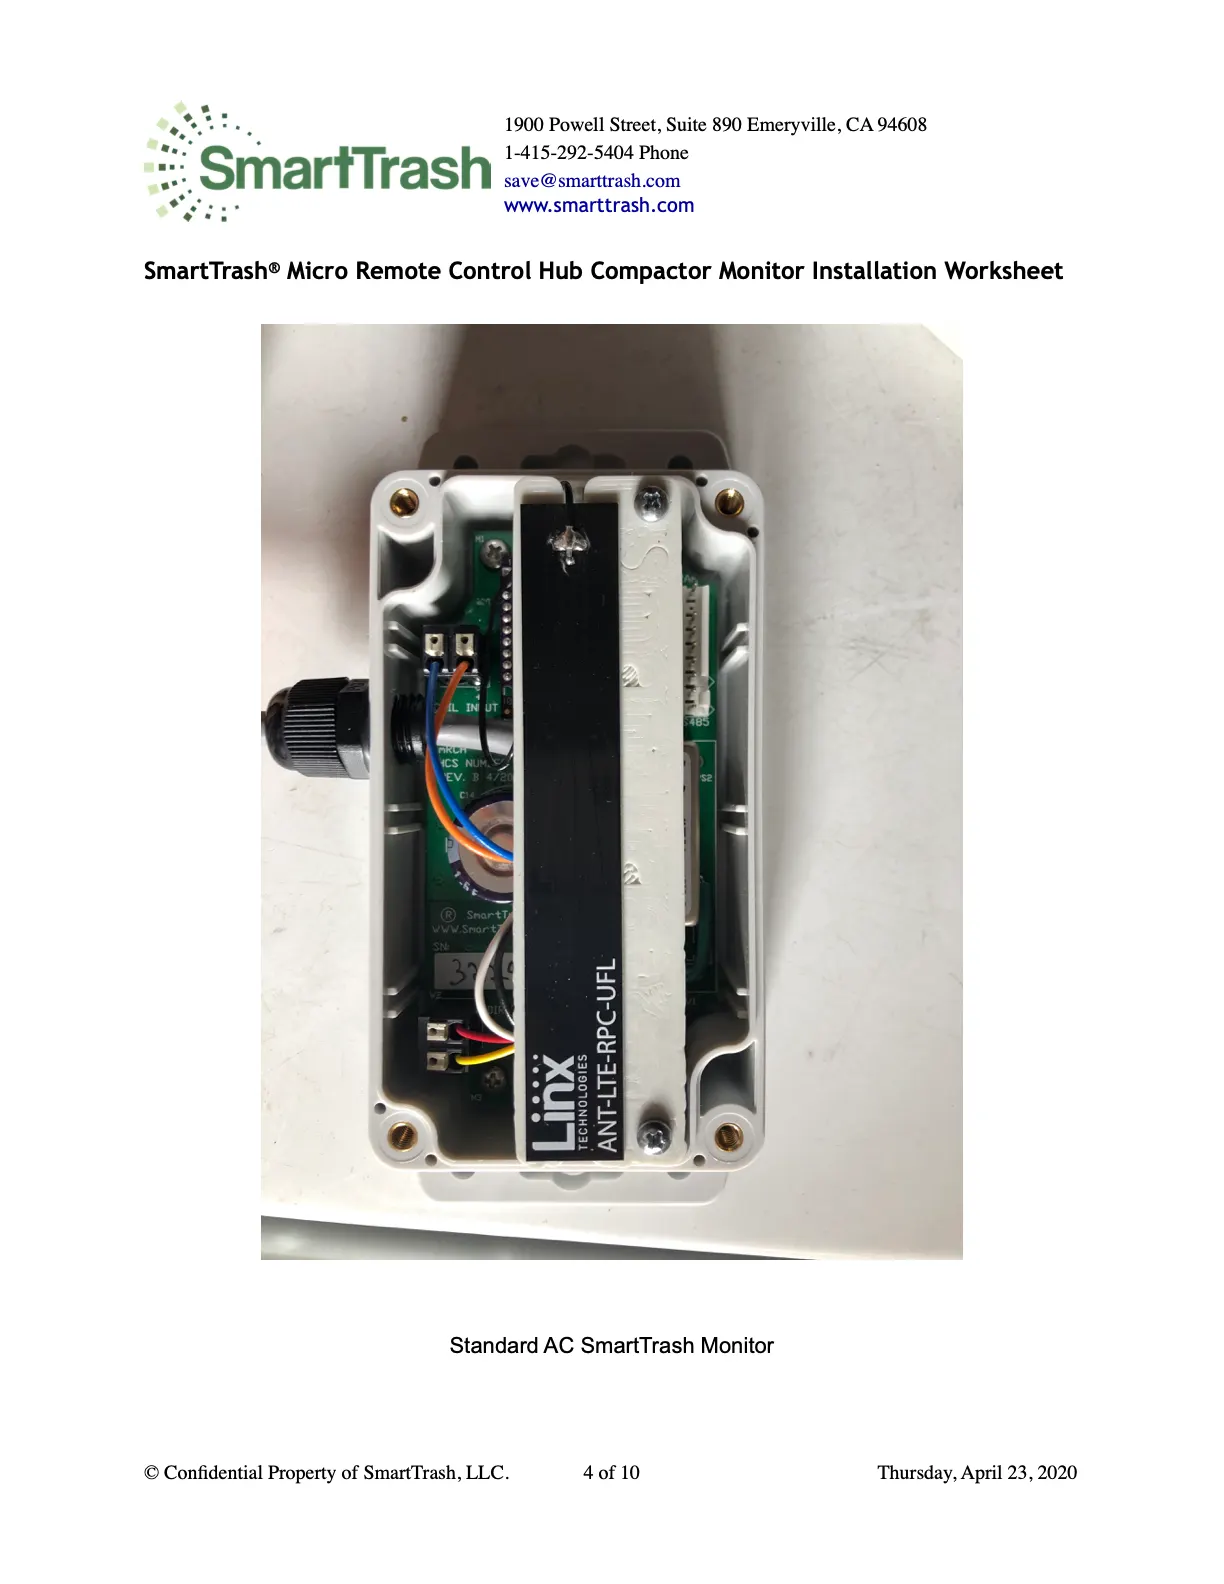
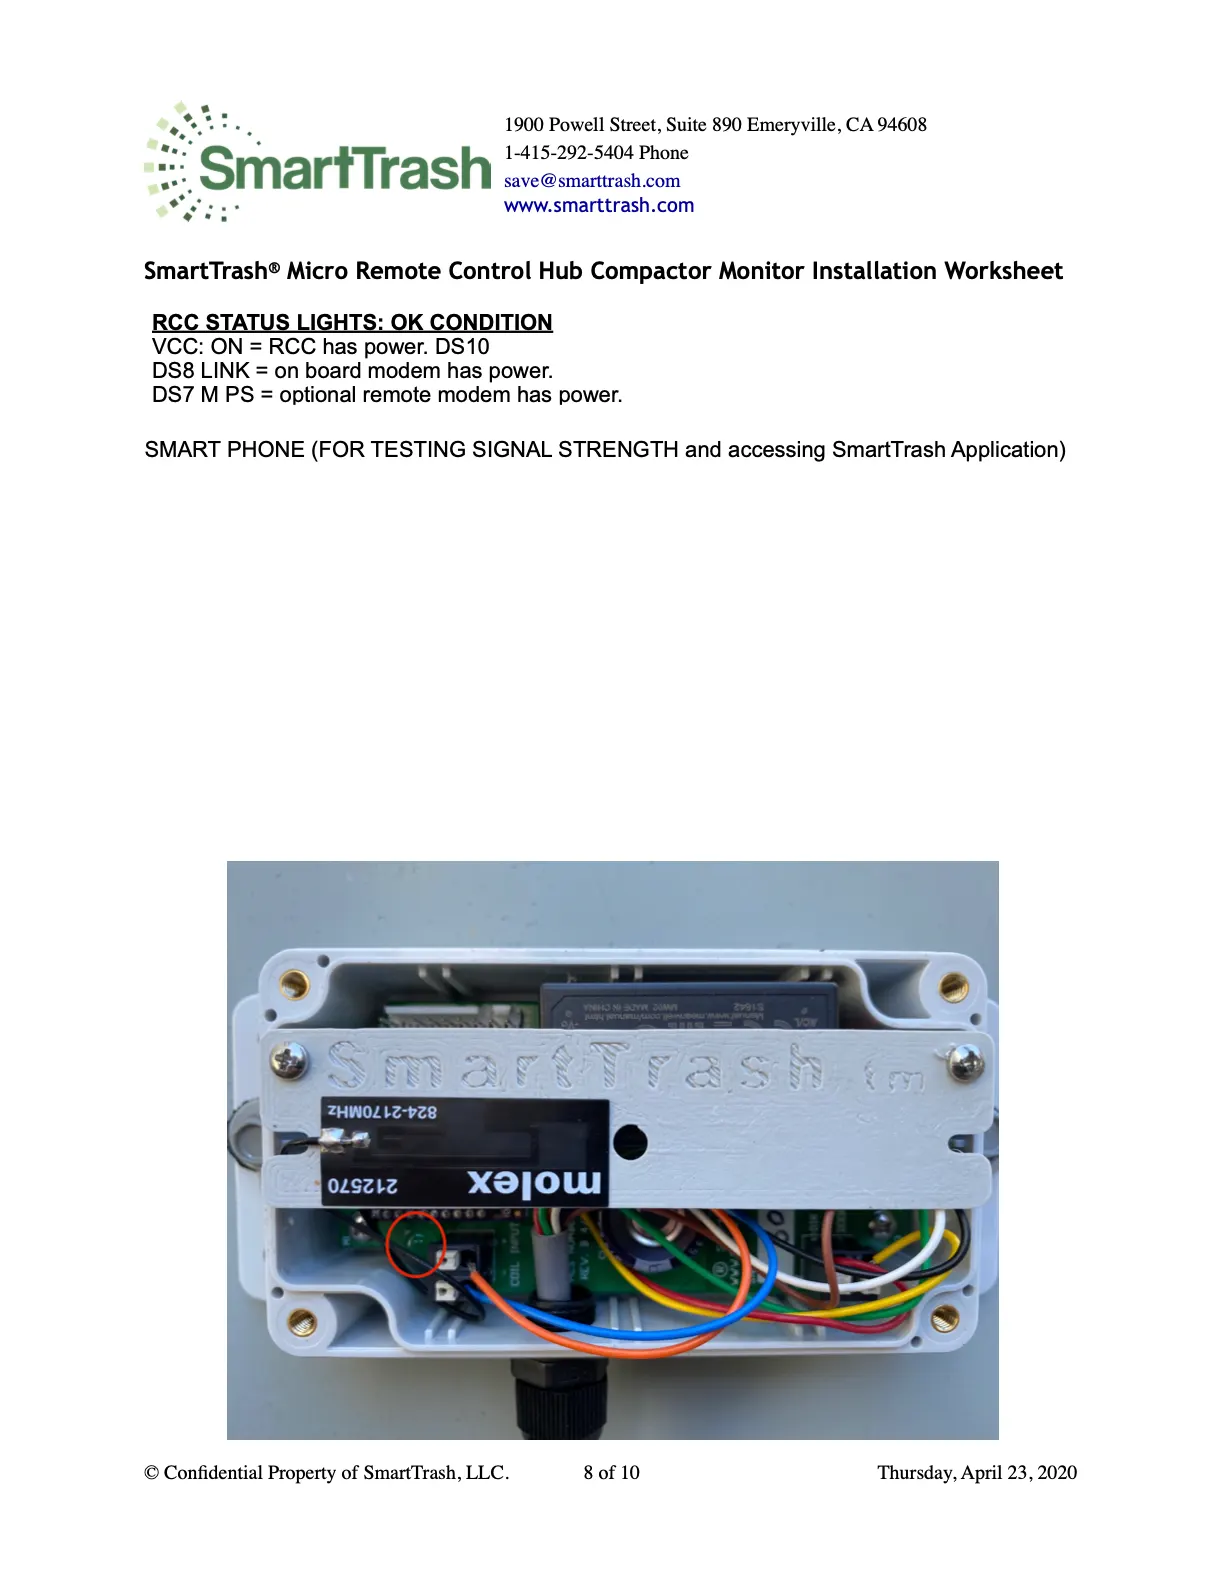
SmartTrash® is a UL/CE approved watertight enclosure with a proprietary Micro RCH circuit board and onboard wireless LTE modem.
A UL/CE approved 22AWG multi-conductor cable connects the board to the 24VDC compactor control panel.
24VDC control panel wiring
The unit uses the same DC reference to ground for all inputs. DC Negative must be connected to the AC Neutral connector for this to occur. If not, contact SmartTrash for alternate wiring.
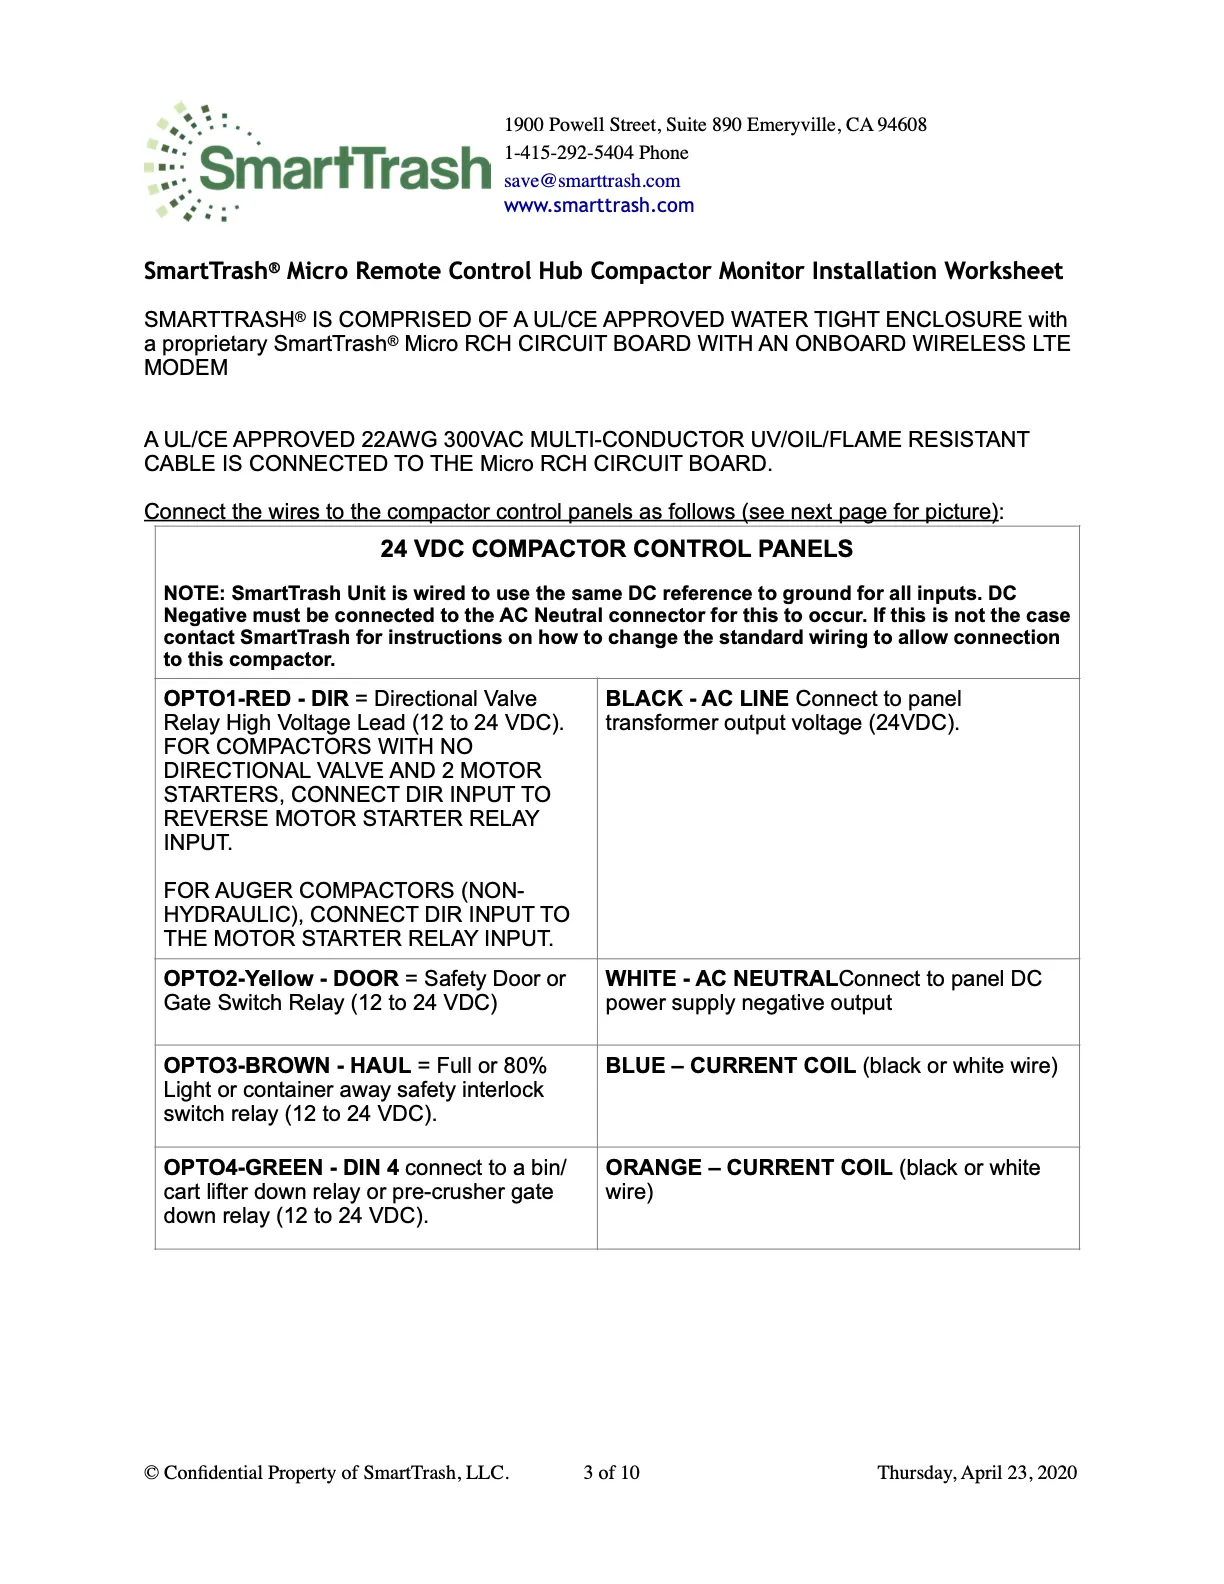
- OPTO1 — RED (DIR): directional valve relay (12–24VDC). No directional valve with 2 motor starters → reverse motor starter relay. Auger → motor starter relay input.
- BLACK (AC LINE label): connect to panel transformer / supply output at 24VDC.
- OPTO2 — YELLOW (DOOR): safety door or gate switch relay (12–24VDC).
- WHITE (AC NEUTRAL label): panel DC power supply negative.
- OPTO3 — BROWN (HAUL): full / 80% light or container-away interlock (12–24VDC).
- BLUE / ORANGE: current coil leads.
- OPTO4 — GREEN (DIN 4): bin/cart lifter down or pre-crusher gate down relay (12–24VDC).
Parts & enclosure
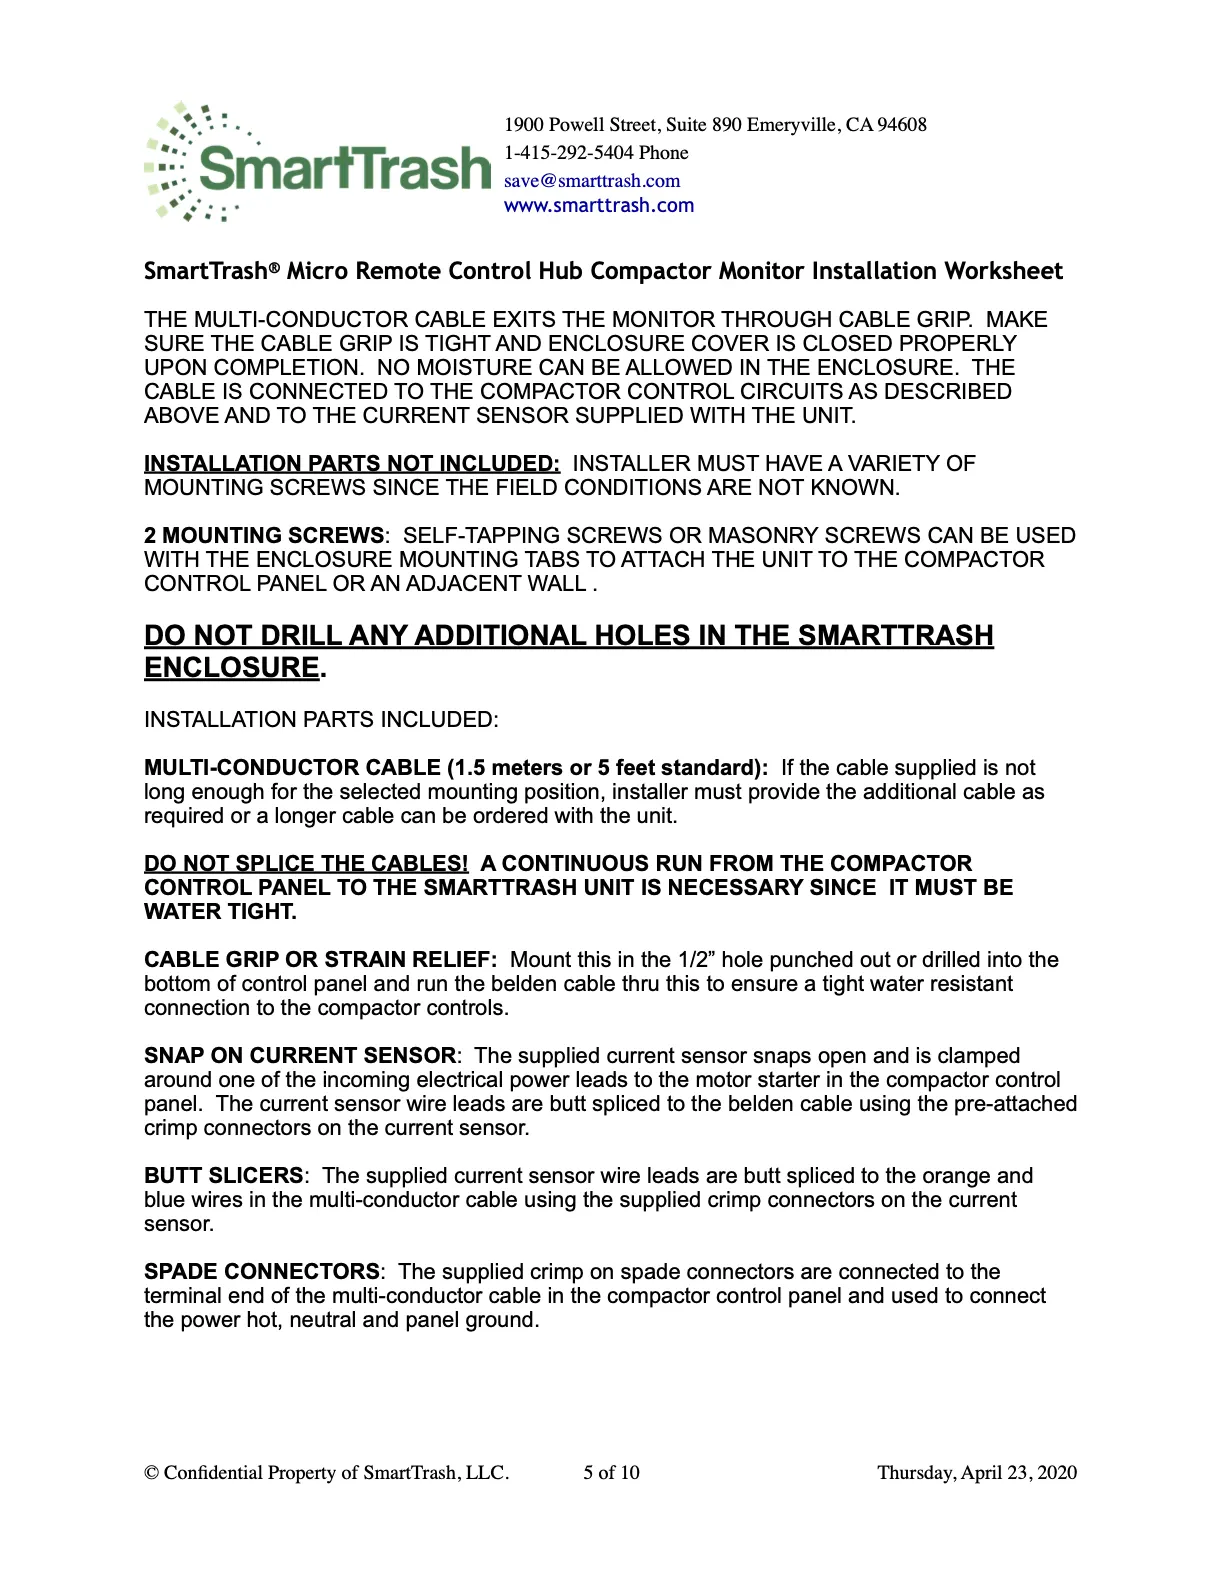
Keep the cable grip tight and the enclosure closed. Do not drill extra holes or splice the cable.
- Not included: mounting screws.
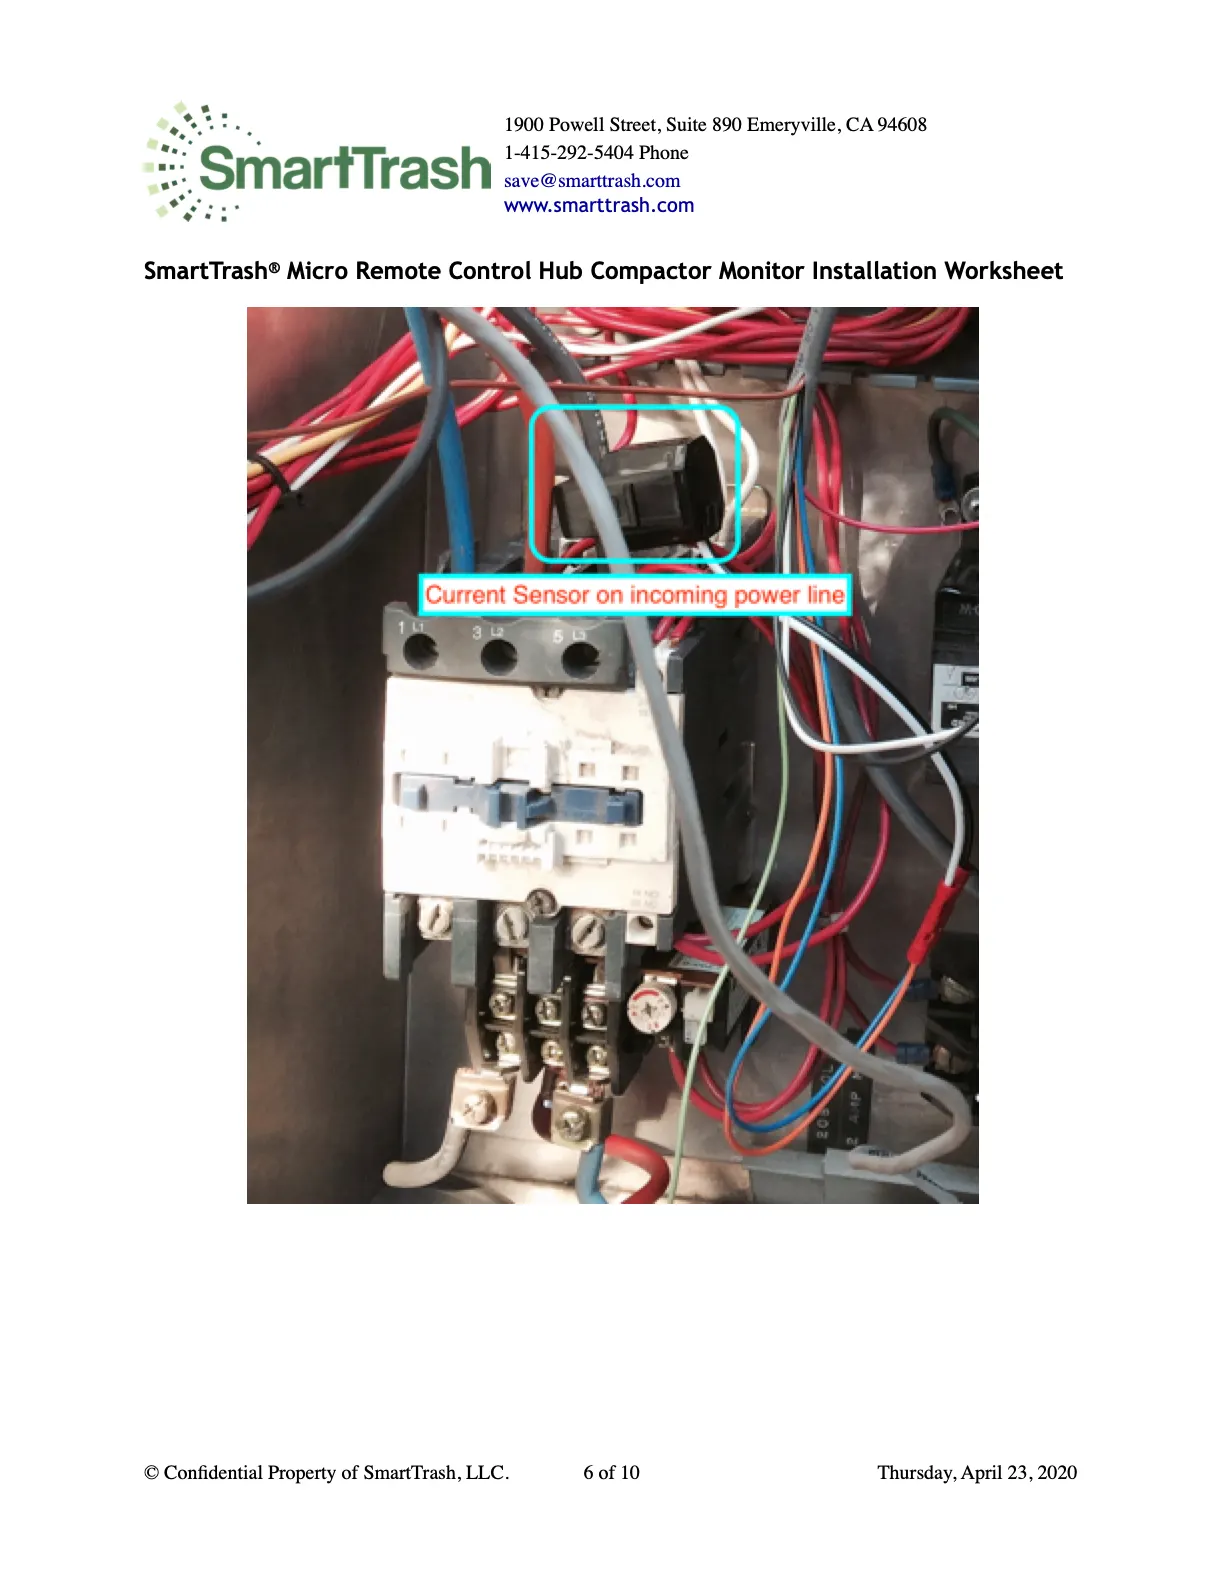
- Included: multi-conductor cable, strain relief, snap-on current sensor, butt splices, spade connectors.
Haul sensor (when supplied)
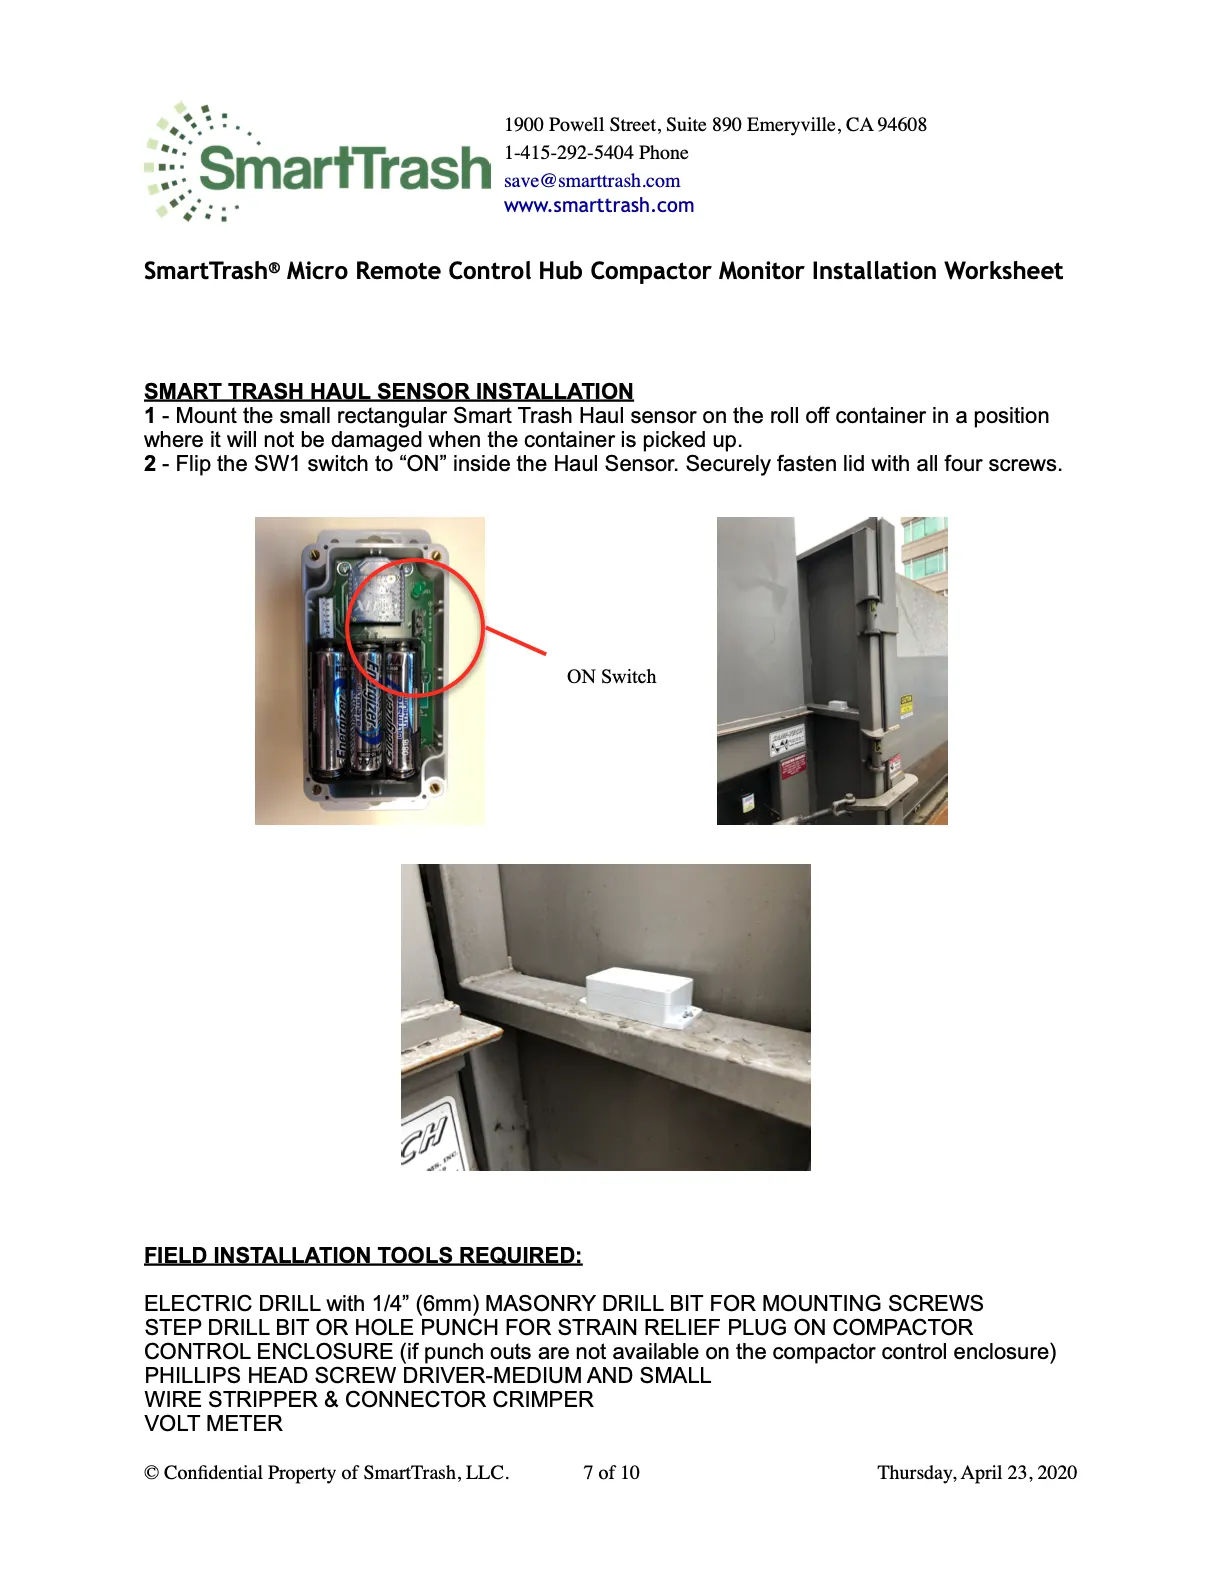
- Mount the small rectangular haul sensor on the roll-off container where it will not be damaged during pickup.
- Flip SW1 to ON inside the haul sensor, then secure the lid with all four screws.
Installation steps
- Tools: drill, step drill/hole punch, Phillips drivers, stripper & crimper, volt meter, smartphone.
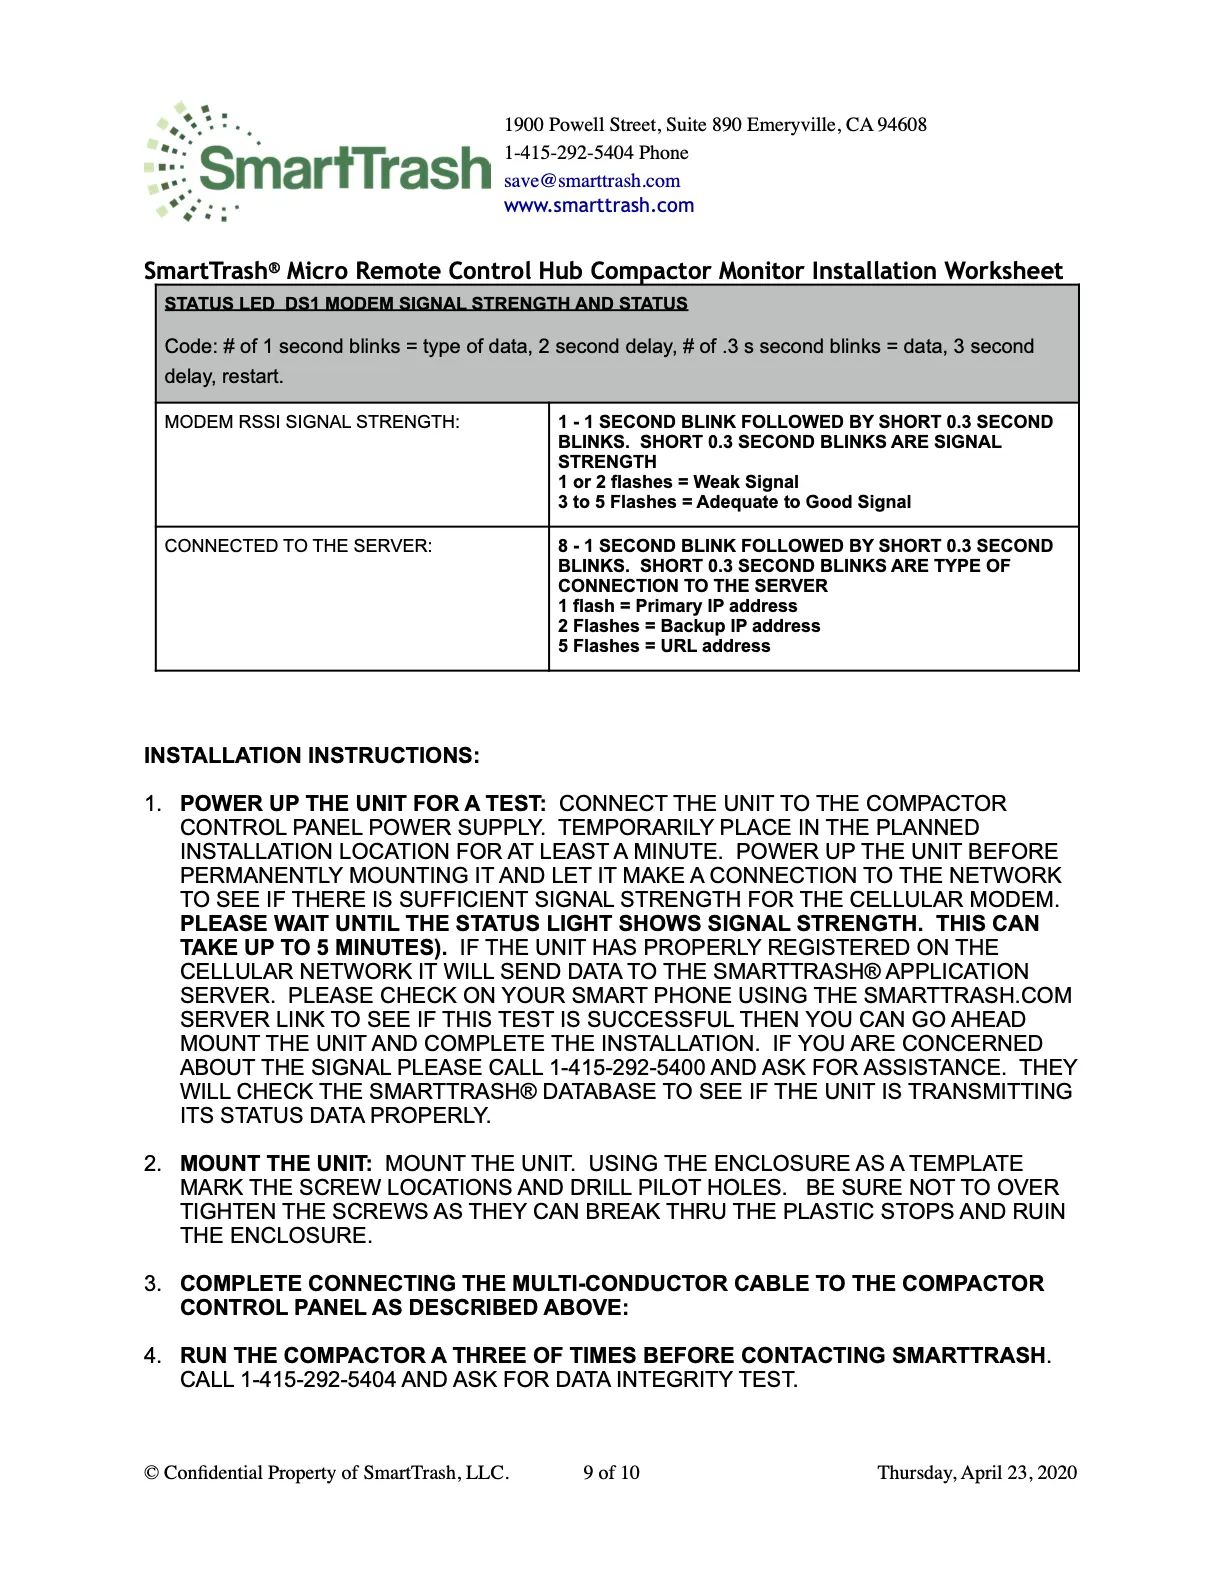
- 1. Power-up / signal test before permanent mount (up to 5 minutes). Confirm in the SmartTrash app. Call 1-415-292-5404 if signal is weak.
- 2. Mount the enclosure; do not overtighten.
- 3. Complete multi-conductor wiring.
- 4. Cycle the compactor three times; call 1-415-292-5404 for a data integrity test.
- 5. Submit the install worksheet before leaving.
Troubleshooting
- No DIR input: verify continuity and voltage change when the ram retracts.
- No E_RUN_DATA: current sensor should read 1–7V at the monitor; notify SmartTrash if over 7V.
Installation worksheet
Do not leave the site until you request a data integrity test (1-415-292-5404) and submit this form.